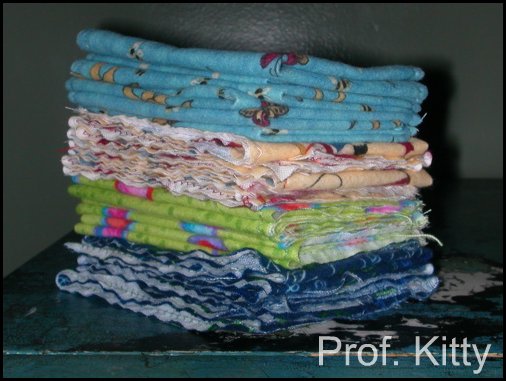
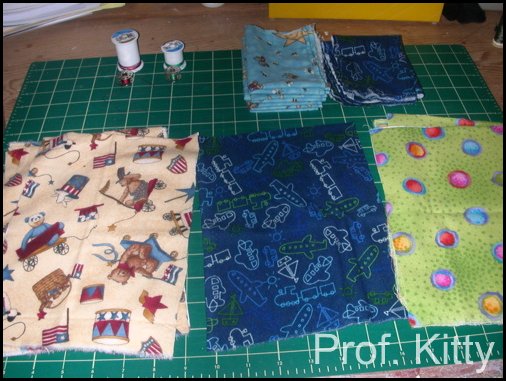
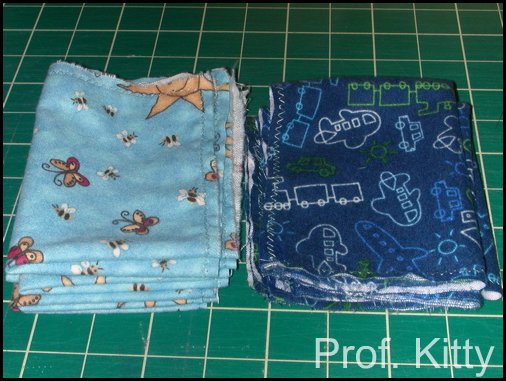
The secret is to buy "Fat Quarters." These are a specific cut of fabric from the end of a fabric roll. Quilters love them because they allow you to buy a small piece of fabric for some specific need. And the store wants to get rid of them, so they are not expensive. For this project, get 4 flannel fat quarters (get creative with colors & designs!). Flannel is preferable as it's both soft and fairly absorbent. From 4 fat quarters you'll get a set of 2 dozen wipies, like this:
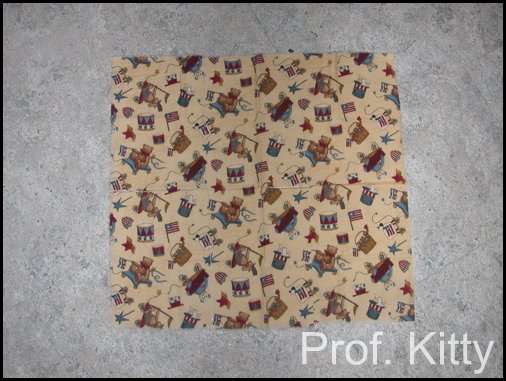
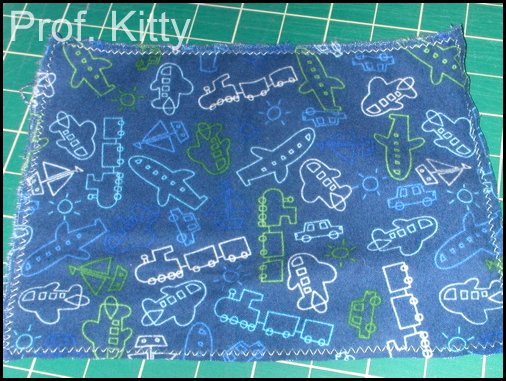
Step 1: Cut each fat quarter into 6 pieces. If your fat quarter has a selvedge that looks different, cut it off. Here's a fat quarter spread out before cutting. It had a wide white selvedge that I removed.
To cut, first fold it in half the long way.
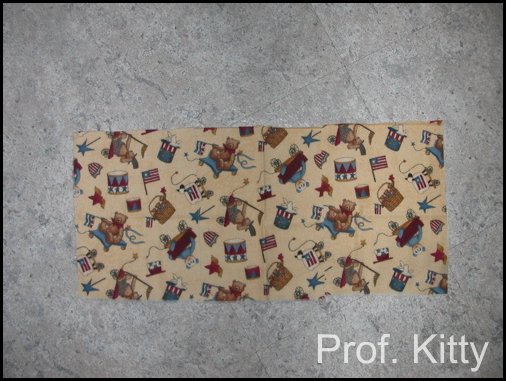
Then, slip your shears in the long fold you created and cut. If you unfolded it, it would look like this (but don't unfold it!).
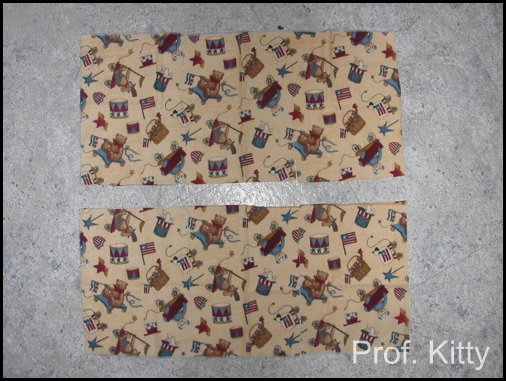
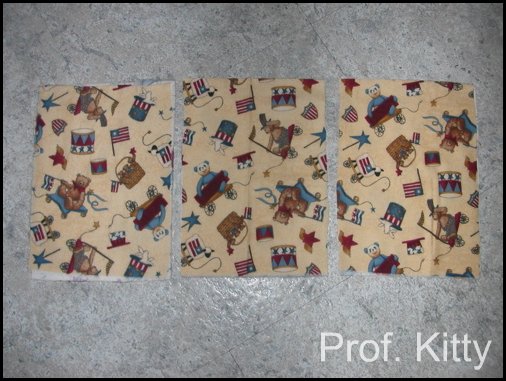
Instead of unfolding, keep the two halves together and fold them again into thirds. Cut along the two new folds. You'll now have three pairs, like this.
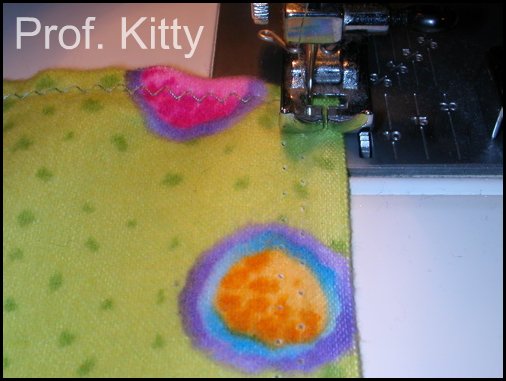
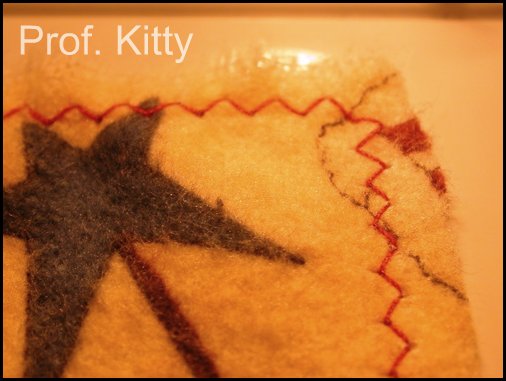
Step 2: Zig-zag stitch around the edges. This simply finishes the edge so it won't fray beyond a certain point. (A little bit of preliminary fraying is to be expected.) Set your machine to sew in zig-zags--on mine, this is the same as the regular stitch except the stitch width is adjusted so it's more than 0. This just means the needle moves back and forth now as well as forward. I suggest using some scraps to get your zig-zags the way you want before you start on the wipies. You're looking for about the same width as the stitch is long, like this (upper left):
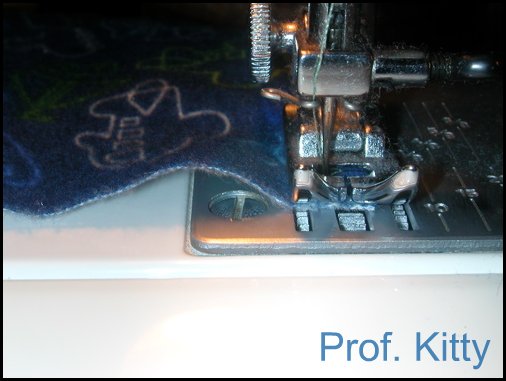
I prefer making the corners as demonstrated above, stopping with the needle on the LEFT side of taking a stitch. Then, with the needle in the downward position, lift the foot and swivel the fabric. Drop the foot and start sewing again. Here's the needle on the left, before swiveling:
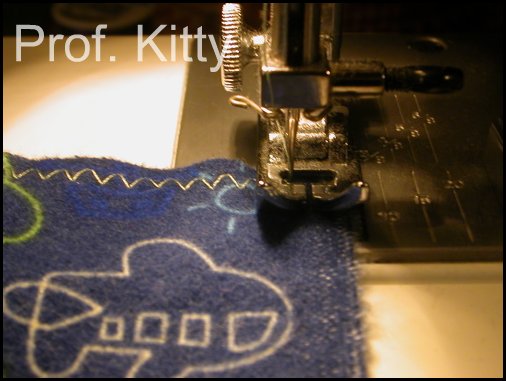
The reason I prefer to keep the needle on the left is because the resulting corner will look like this, with a nice star-shape:
You could leave the needle to the right if you want, and end up with a pointy-looking corner like this. Maybe you prefer it?

One fun thing about this project is that you can get creative with the thread colors. Try interesting contrasts. At the same time, this is the perfect way to use up bobbins and spools that don't have much thread left on them. Here's my work area, with folded finished wipies at the top, cut squares ready to sew laid out, and short bobbins and spools set out to consider.
Here's a single wipie finished all the way around. In case you were wondering, do treat selvedges just like any other side (unless you cut them off as described above).
I like to fold wipies into quarters. Then, you can stack them up and tie with a ribbon. Or look for a nice container to keep them in—see last photo below.
For nursing infants, wipies are great to just scatter around the house anywhere you're likely to sit down with the baby. Keep one stuffed in your pocket, one in the changing bag. A stack on the changing table. Throw used wipies in the wash, and you're ready to start again. (I suggest not pre-washing your gift, as some moms are particular about the kind of detergent they want near their baby.)
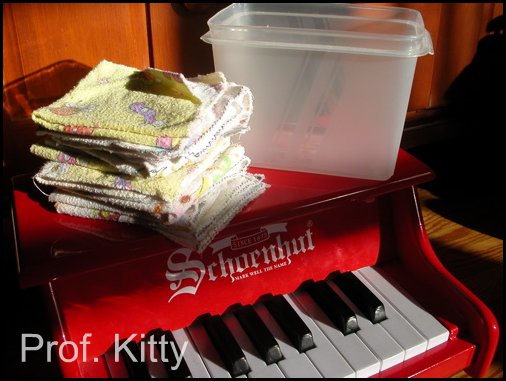
Here's a shot of my own set of wipies after 2 years of use and love—plus the plastic container I stash them in.

2 comments:
These are so cute! With all my friends having babies, I might just have to learn to sew (OK, I know how, I just don't like to!)
Wow!! Great choice of fabric!! Thanks for the tutorial... I will try them...
Post a Comment